Blog

Cosmic Cactus Quilt Along PART 8: Finish your quilt (optional)
Do you need some help, motivation or inspiration for finishing your quilt? We put so much energy into planning and sewing our quilt top, now you need to keep that momentum going. Don’t end up with a UFO (unfinished object)! Take the next steps with me as we complete our quilts, so our quilts become a finished object for us to enjoy.

Cosmic Cactus Quilt Along PART 7: Assemble quilt top
We are almost there, with only the quilt top to assemble. It’s so exciting to finally see this quilt come together! Where to start? Take a look at the Quilt Top Assembly Instructions in the pattern and read on for additional tips.
Don’t let your quilt turn into a UFO (unfinished object)! Join me next time for the optional Part 8: Finish your quilt.
Part 7 Grand Prize Giveaway: Don’t forget to post your completed quilt top on Instagram to win one of two awesome prizes! You can find out more about how to enter here.

Cosmic Cactus Quilt Along PART 6: Assemble Blocks
In Part 6 we will be assembling Blocks B-F, with no assembly required for Block A. The blocks in the Cosmic Cactus quilt will require you to match seams and maintain those lovely half-square triangle, flying geese and square-in-a-square points.
For a beginner this is a great time to learn and practice these new skills. A more experienced quilter should find putting these blocks together fairly straight forward.

Cosmic Cactus Quilt Along PART 5: Make Square-in-a-square block
I hope you are enjoying the leisurely pace of the quilt along! If you’ve never tried paper piecing, making these square-in-a-square blocks are a great introduction.
This in-depth tutorial provides paper piecing essentials, step-by-step instructions and plenty of photos to guide you through the process of completing a Square-in-square block for your Cosmic Cactus quilt.

Cosmic Cactus Quilt Along PART 4: Make Flying Geese
In this tutorial, discover the secrets for making perfect FG using the four-at-a-time method. While the method for making the FG is straight forward, the key to successfully making these blocks is accuracy from start to finish.
This tutorial includes Flying Geese Essentials, Tips for Perfect Flying Geese and a comprehensive guide (including plenty of photos) to piecing and trimming your geese.
Read on to find out my tips for ensuring your geese turn out perfect every time!

Cosmic Cactus Quilt Along PART 3: Make Half-Square Triangles
Half-square triangles (HSTs) are one of the basic blocks in quilting and this is a great block to start with if you are learning to quilt. Whether you are new to quilting or need a refresher, we will be providing plenty of tips for achieving accurate HSTs, along with photos for you to see how it’s done.
For the Cosmic Cactus Quilt you will be making HSTs four-at-a-time, using a method that allows you to have HSTs that when trimmed will have no bias edges! If you are making the scrappy quilt, you will also make HSTs using the two-at-a-time method. All HSTs require trimming, allowing you to achieve a perfect HST unit every time.

Cosmic Cactus Quilt Along PART 2: Cut your fabric
You have selected your fabric and now you’re ready to cut your fabric.
But before you start, take a moment to read Preparing your Fabric and Tips for Accurate Cutting. Then refer to your quilt fabric option for specific cutting guidance.
My advice is to take your time cutting!

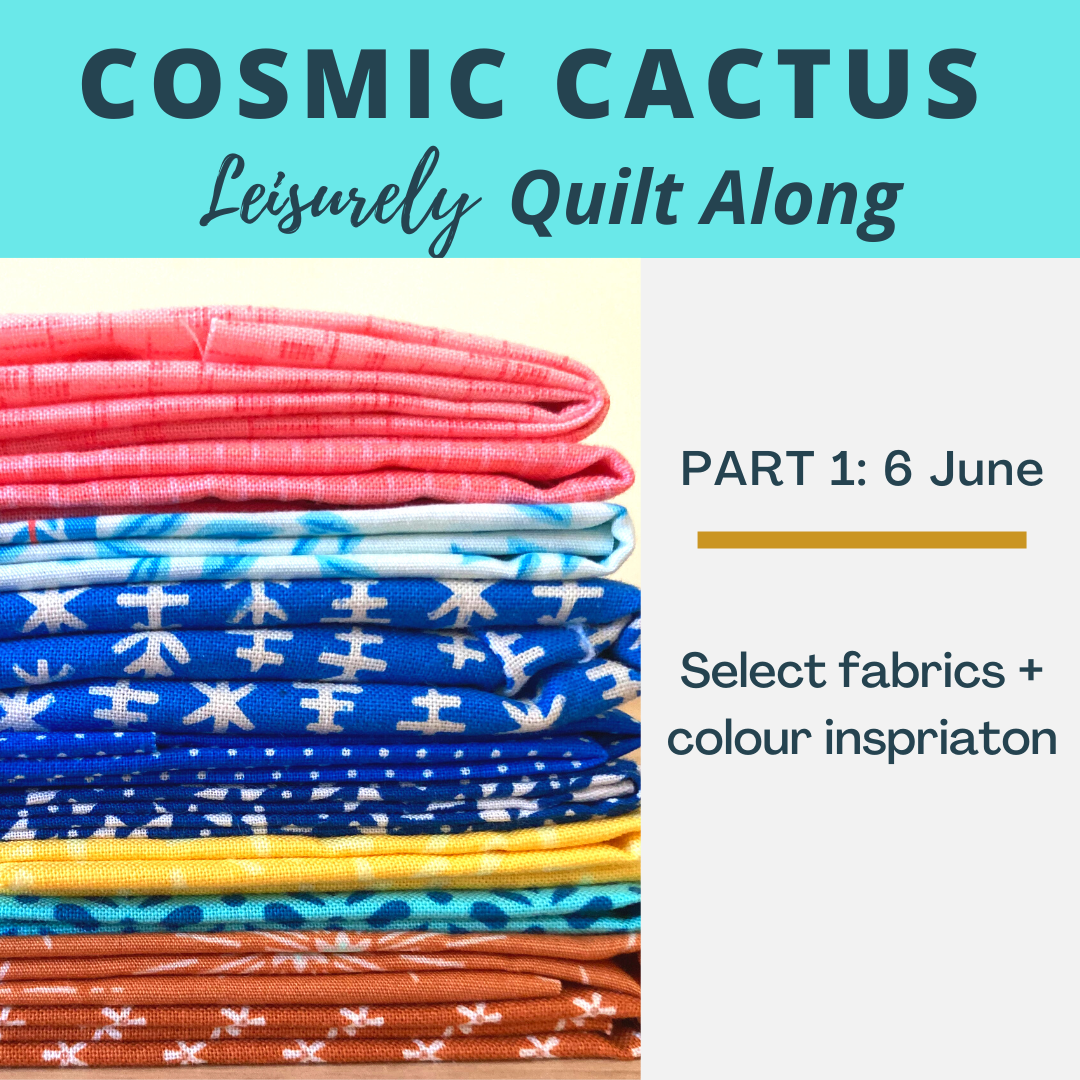
Cosmic Cactus QAL PART 1: Select Fabrics + Colour Inspiration
Thanks for joining me for the Cosmic Cactus QAL!
Are you having a hard time deciding on your fabric?
Read on and discover plenty of inspiration and tools to help you decide on your quilt fabrics.

Join the Cosmic Cactus Quilt Along
Join us for a leisurely Quilt Along!
This QAL will be an eight-be part series with all content published online via our blog every two weeks.
We will making a baby or throw size quilt at a leisurely pace over a few months, allowing plenty of time for choosing fabrics, learning how master new blocks and completing your quilt top!
The Cosmic Cactus quilt is a skill builder pattern for a confident beginner or makes a fun project for a more experienced quilter! This 3-in-1 pattern enables you to choose to make a two-colour, four-colour or scrappy quilt.
