How to Match Prints on your quilt backing
An easy and effective method for matching a pattern in your quilt backing. Follow our guide to achieve amazing results!
Finding the perfect fabric print for your backing can really make a finished quilt stand out. But can you bear to cut up and see that gorgeous print mismatched in the backing? Take a moment here and discover how easy it is to match a print in your backing.
IMPORTANT INFO:
For the purposes of this tutorial we are talking about fabric that is 42” (110cm) wide. Wide backings are available at 108” (2.75m) if you can find a suitable fabric print.
You will need extra backing fabric to match the print! To help determine your fabric requirements read Identify the Repeat Pattern.
What You Need:
Backing Fabric: Refer to your pattern for the backing size and then calculate the fabric requirements to accommodate matching the repeating pattern by referring to Identify Repeat Pattern below.
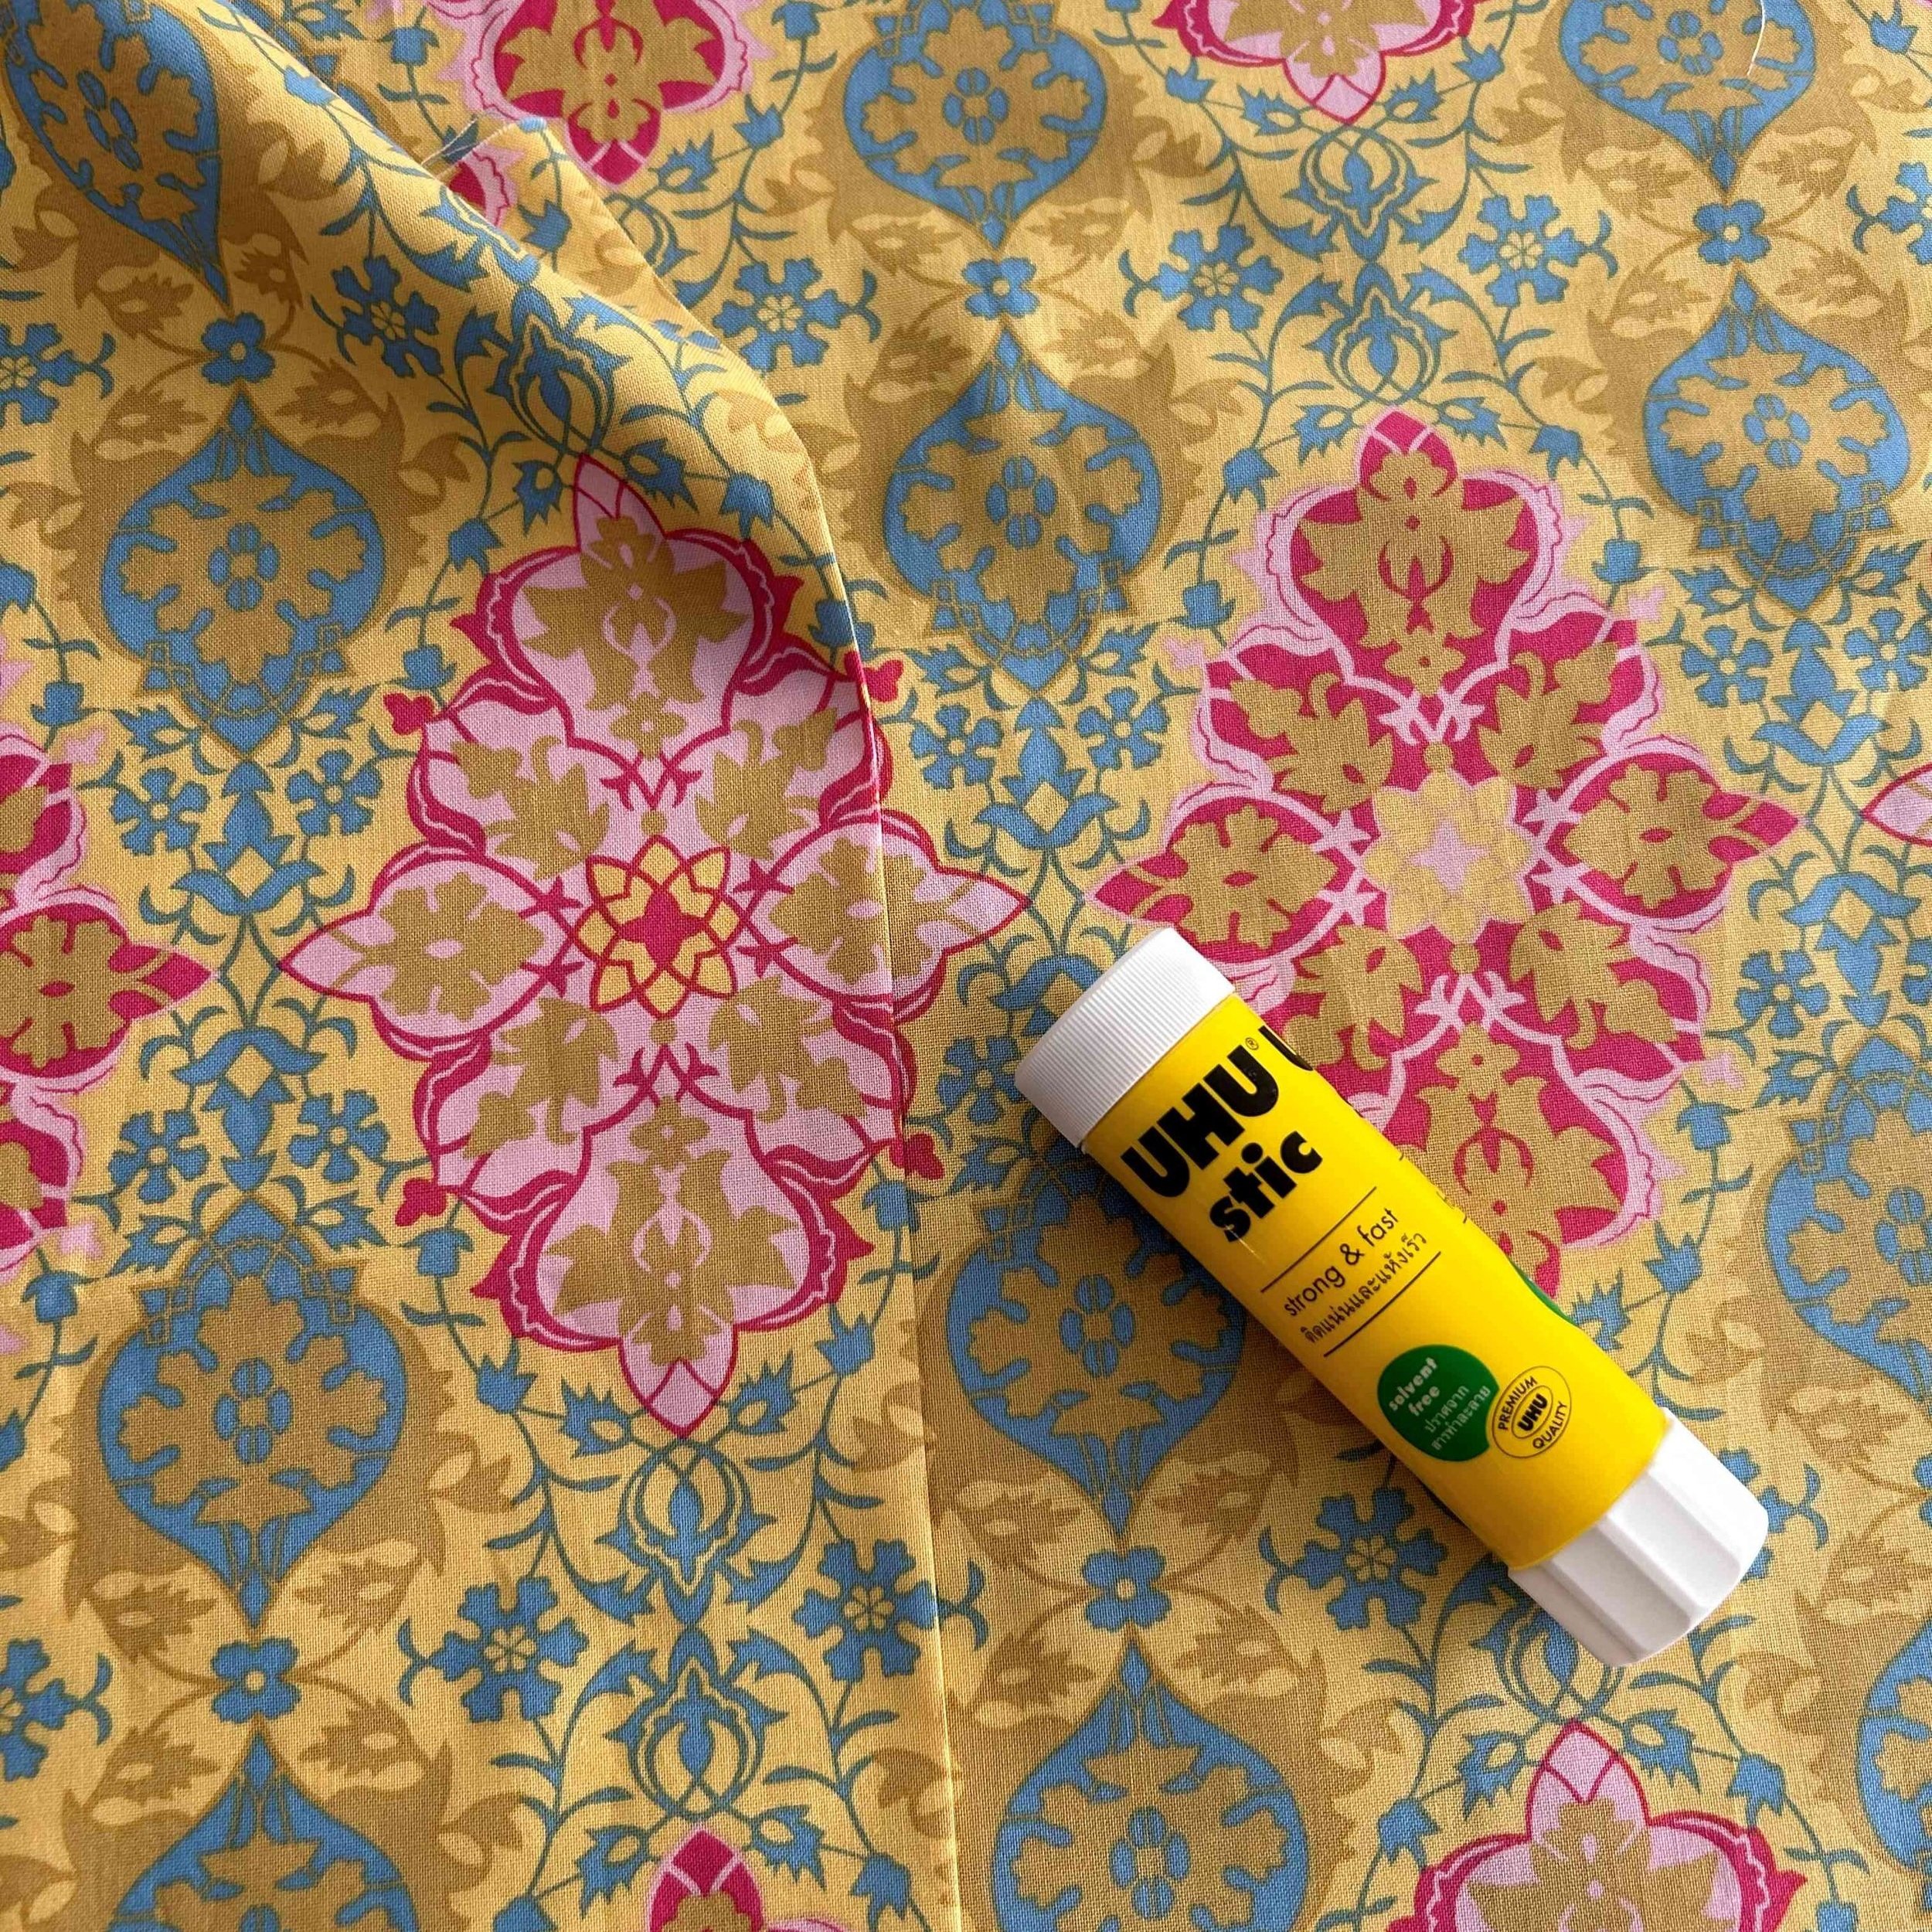
Glue Stick (water soluble)
Matching Thread
Iron
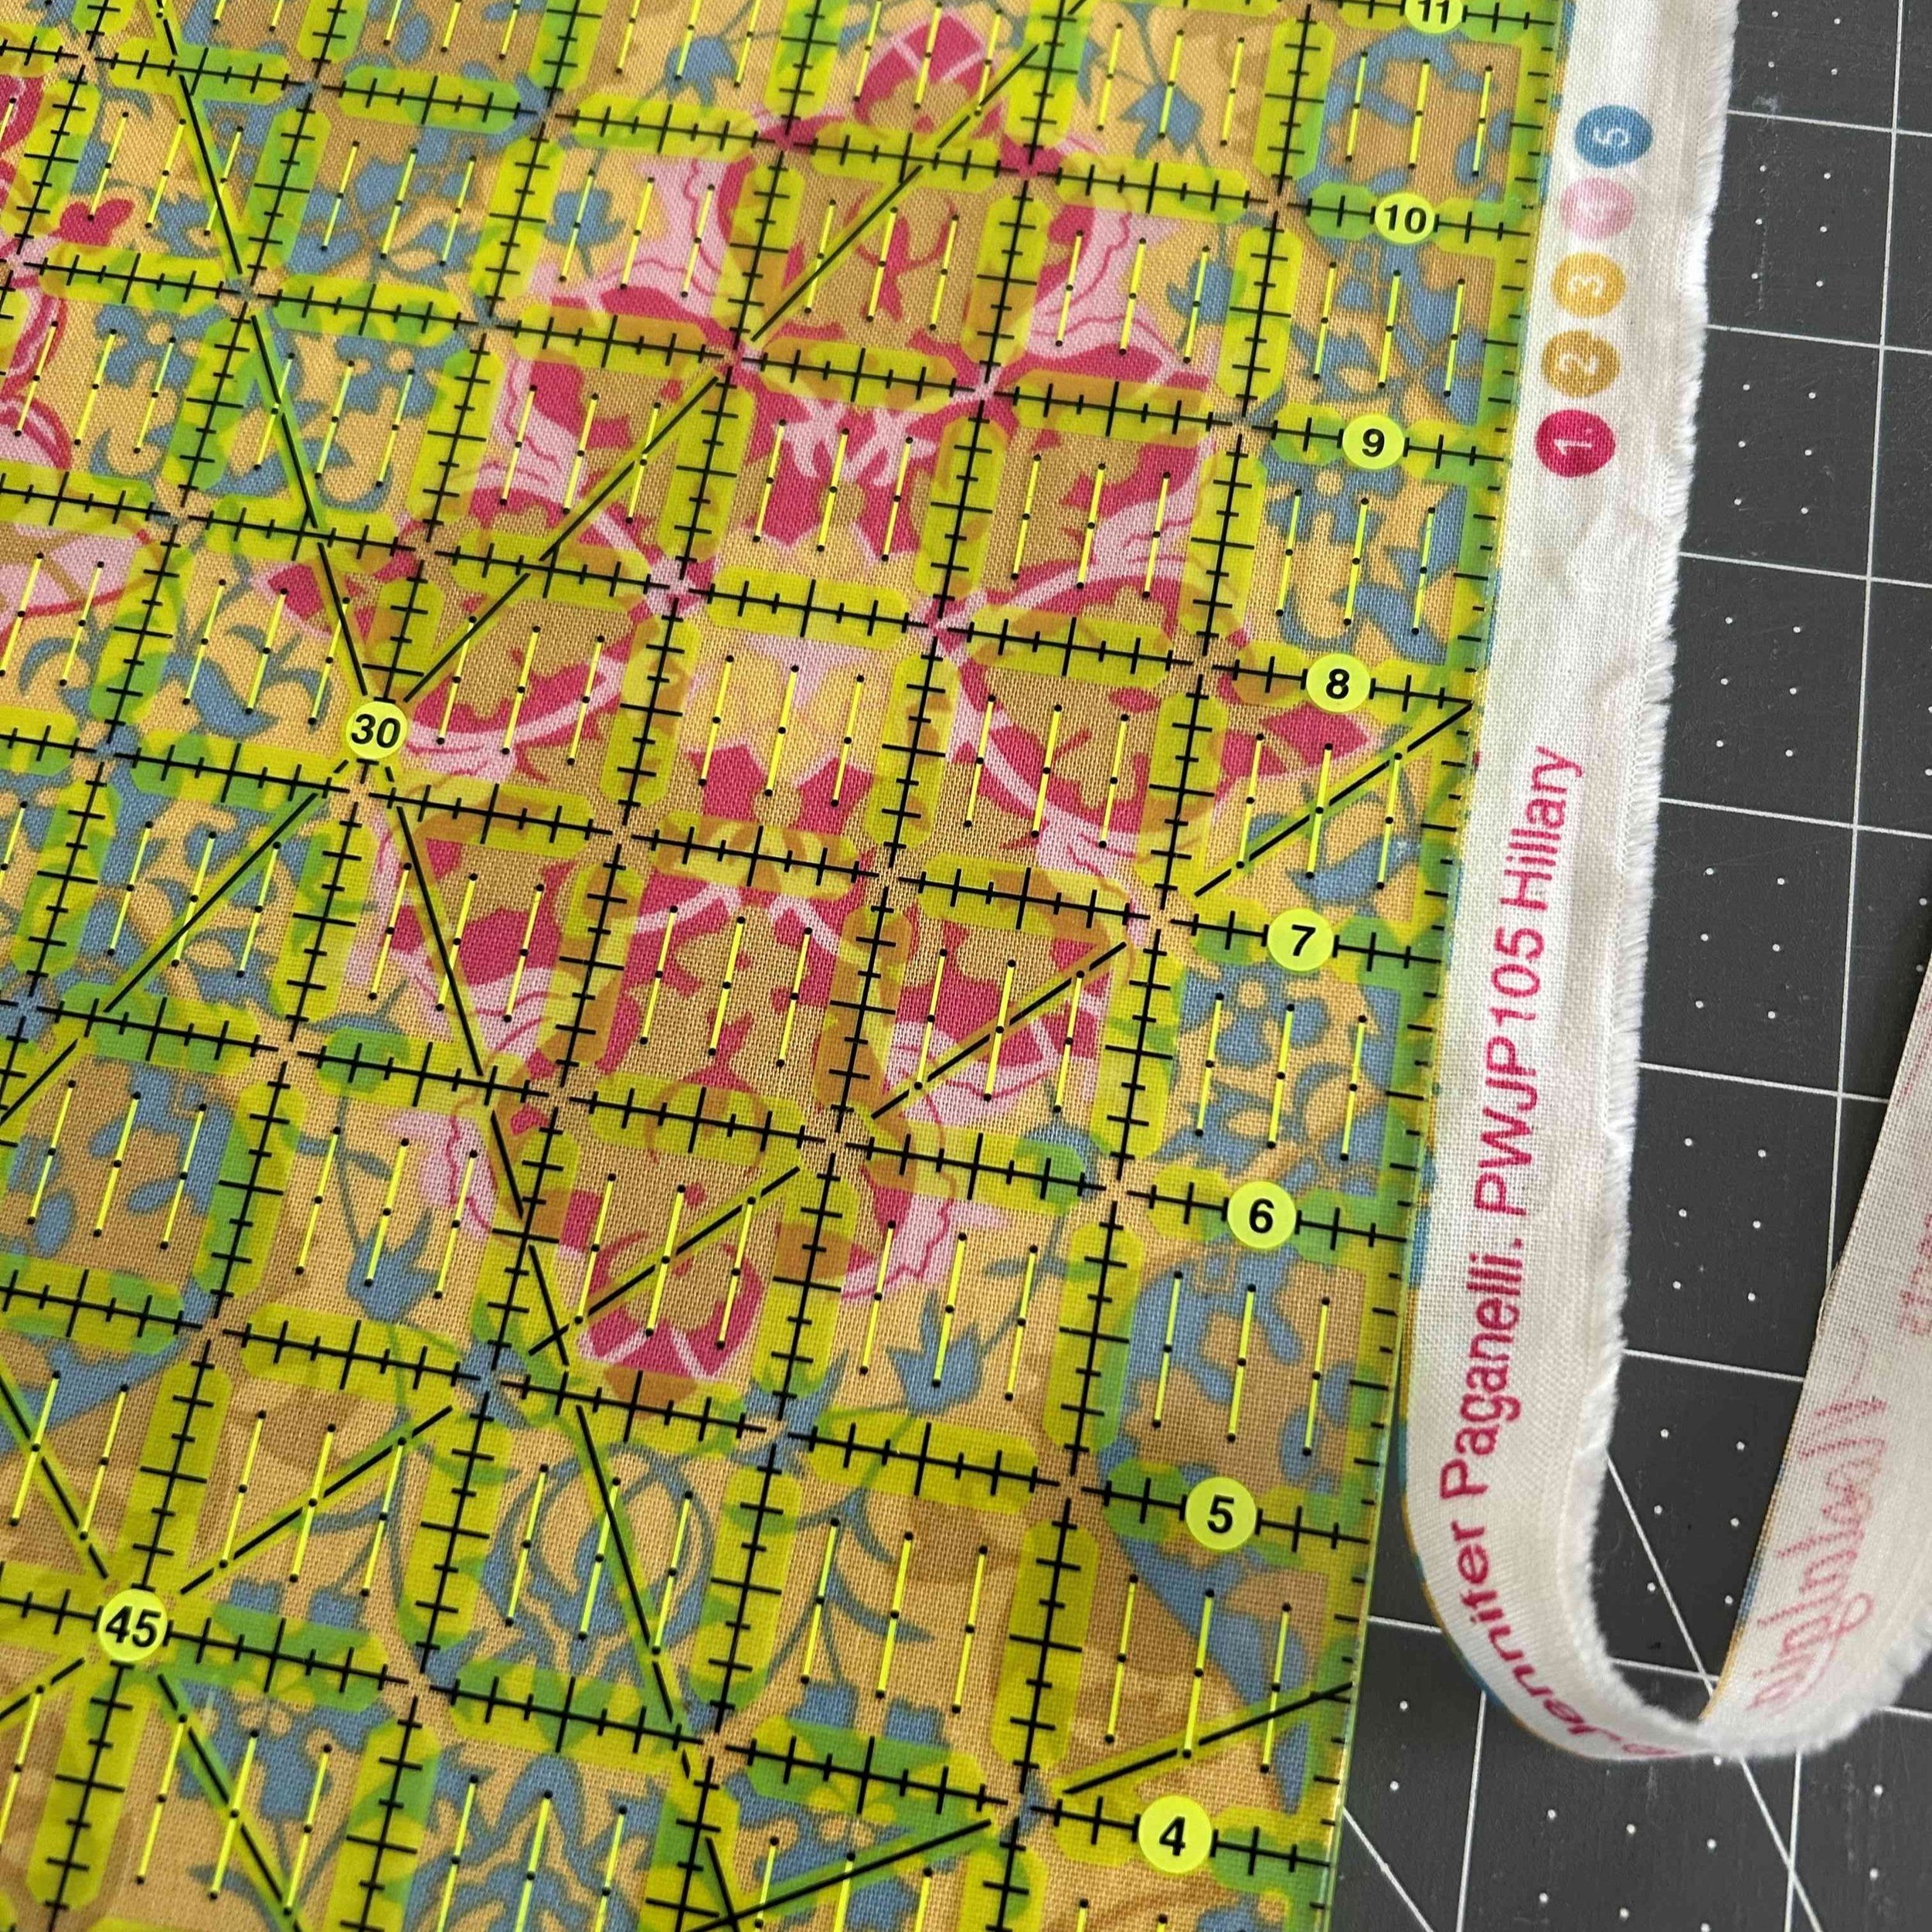
1. Identify the Repeat Pattern: How much extra fabric you require will depend on the size of the repeating pattern. As a guide, the larger the repeat pattern the more extra fabric you will need to match the print. This means you’ll likely have some leftover fabric.
Follow the directions for calculating your fabric requirements below.
Calculate how much extra fabric:
Our example here has a repeating pattern size of 9.5” x 15.5” (which is quite a large repeating pattern).
I was making this backing for a baby size quilt that required a 56” square backing.
Backing WIDTH: 56” backing size + 9.5” extra for repeating pattern = 65.5”. One 42” width of fabric (WOF) will not be enough. Add together 2 x 42” width of fabric which will give you 84” wide with plenty to match the pattern.
Backing LENGTH: 56” backing size + 15.5” extra for repeating pattern = 71.5”. Round that up to 72” inches (or 2 yards).
TOTAL FABRIC REQUIRED: Looking at the backing width and length calculations I need 4 Yards x 42” WOF to match this repeat pattern.
2. Cut Off the Selvages to ensure the print doesn’t show through your finished quilt.
3. Fold & Press: With one backing piece, fold over the edge on one side of the backing piece by 1 inch and press.
4. Match the Pattern: Take the backing piece with the folded edge and match the pattern as close as possible to the edge of the second backing piece. As you match sections glue along the folded edge and press to secure in place. Continue to glue and press!
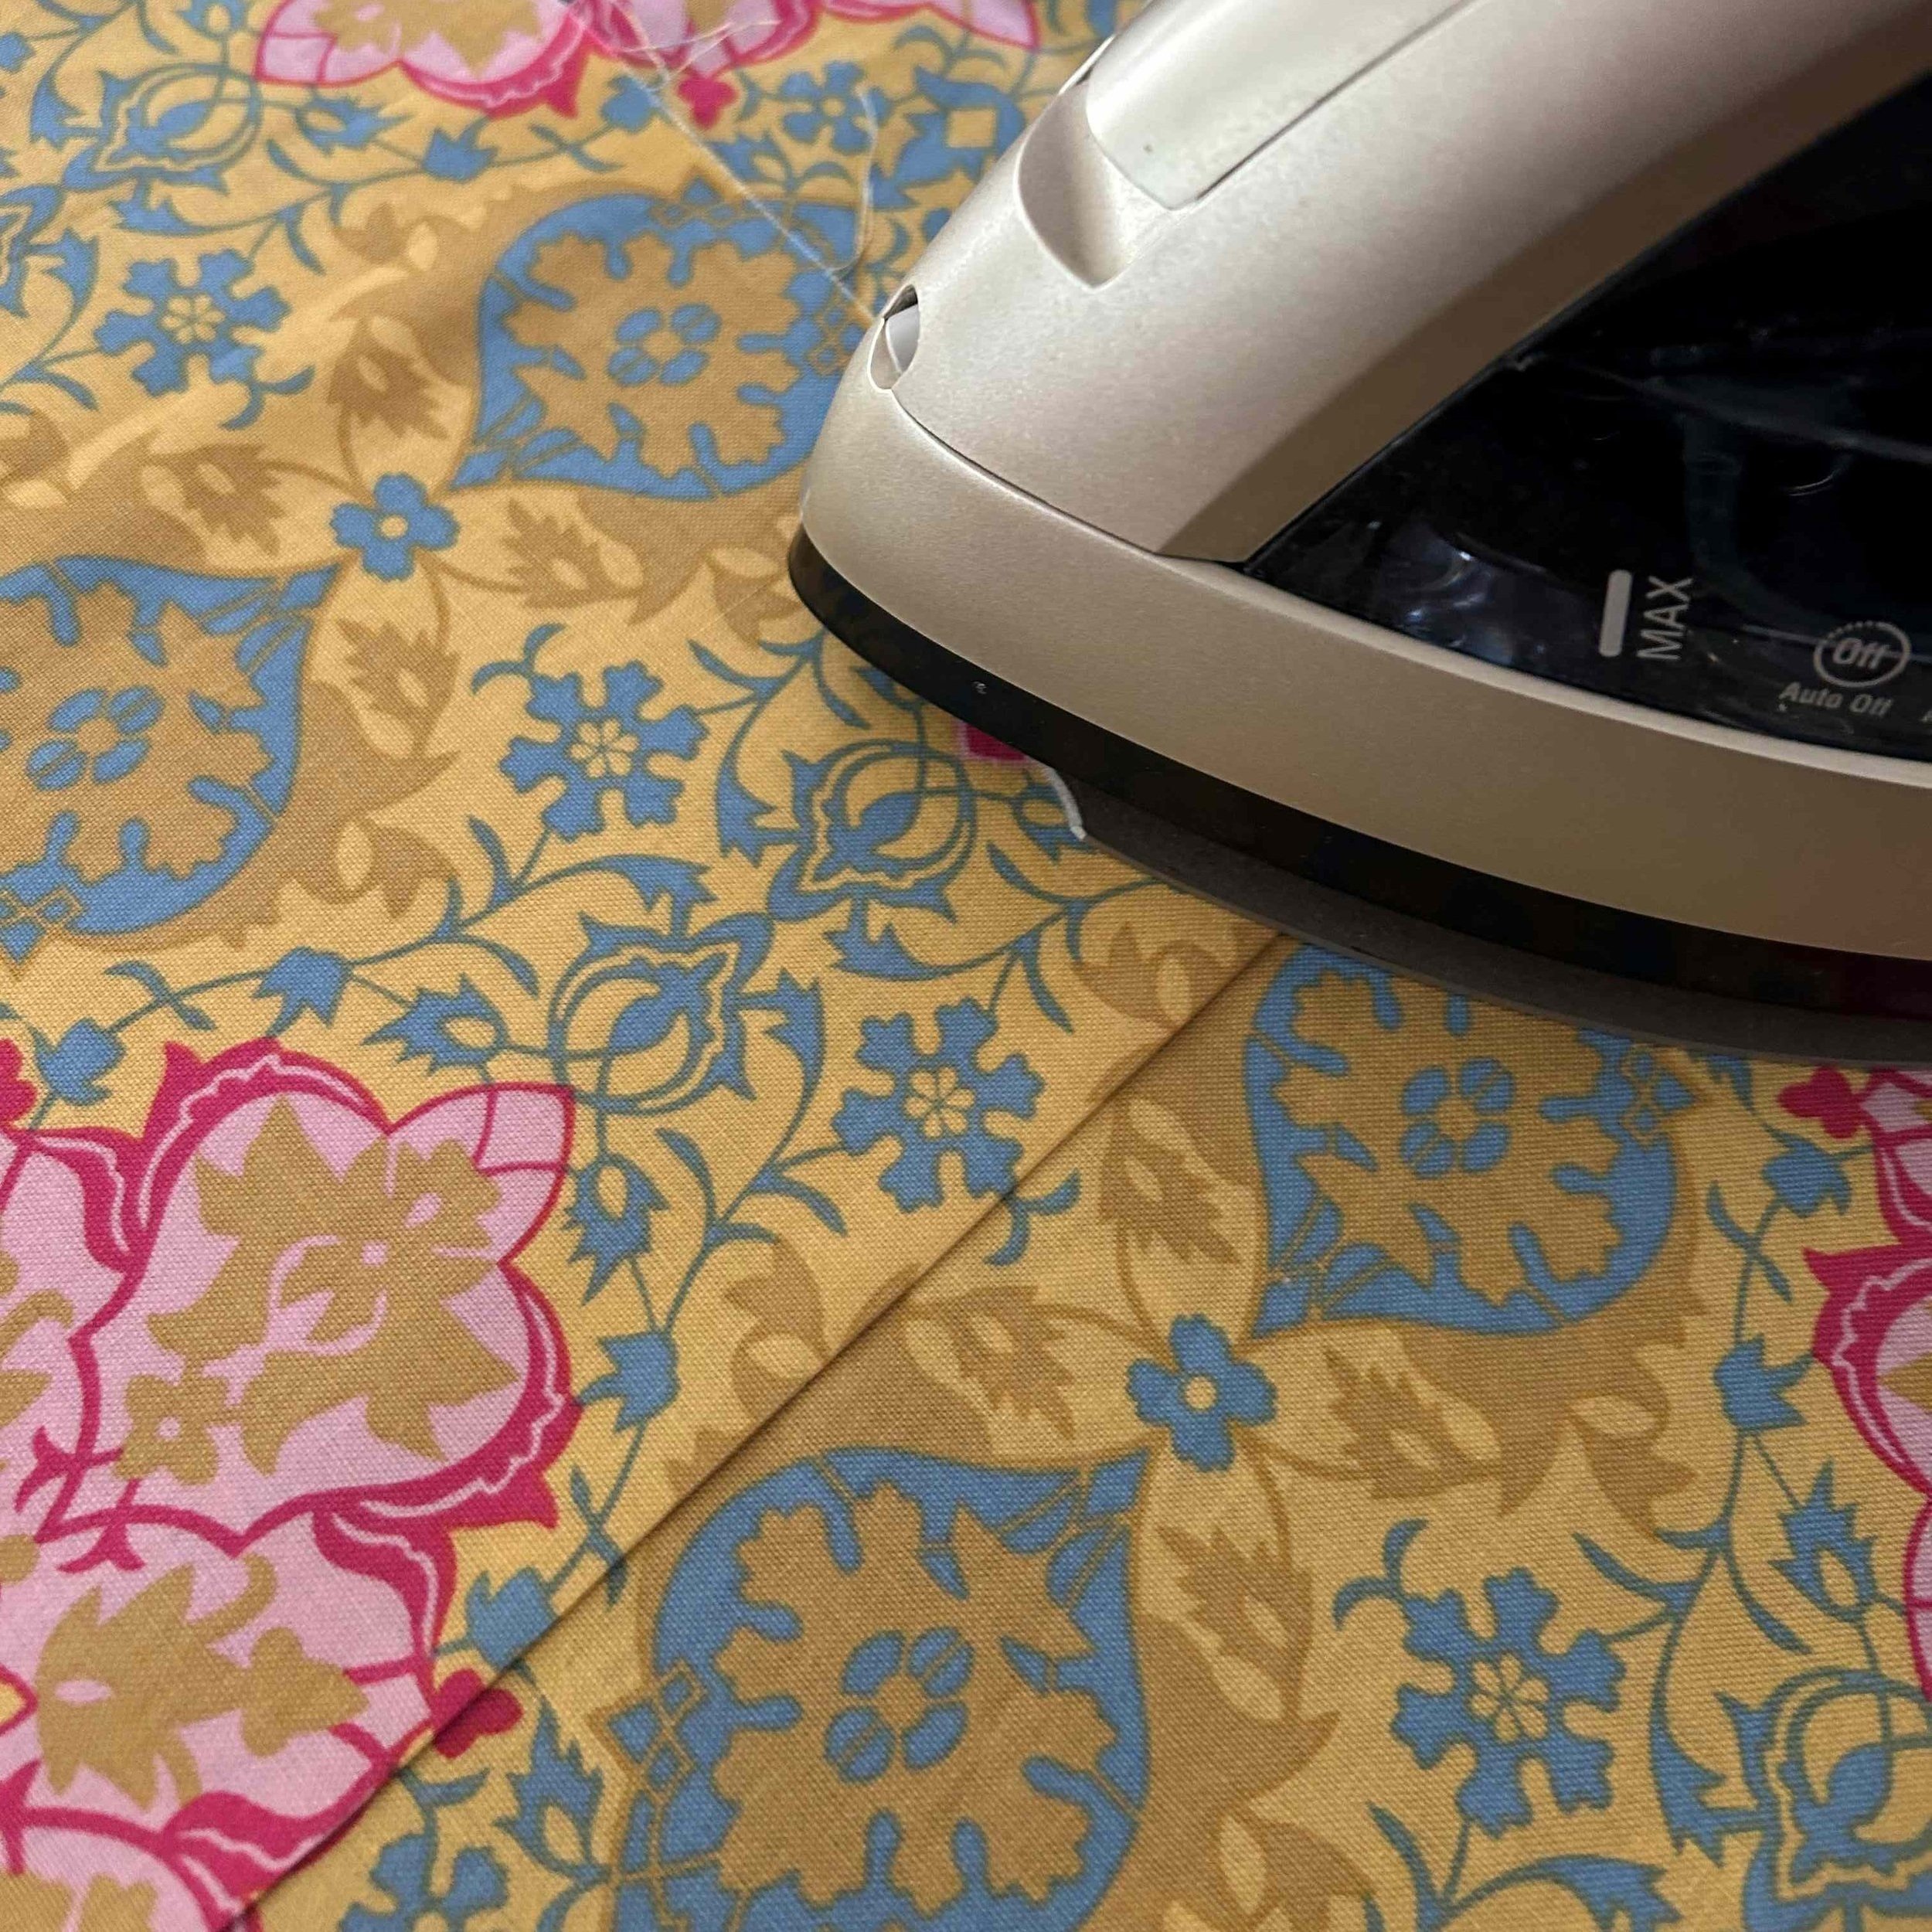
5. Before sewing heat set the glued seam firmly in place with a dry iron (no steam).
6. Sew it together: Carefully take your backing pieces to the sewing machine. Simply sew along the fold line.
7. Trim seam allowance to 1 inch seam (or as desired). I prefer a wider seam allowance in the backing.
8. Press: I prefer to press my seams open on my backing, so I carefully pulled apart the glued seam before pressing. Any remaining glue reside will wash out by using a water soluble glue stick.
9. Square up you backing to your desired size (referring to your quilt pattern).
10. Enjoy! You can now admire your matched print in the quilt backing.
Don’t worry if it’s a little off here and there! At a glance you will only see the matched print, which is far better than having it mismatched!!
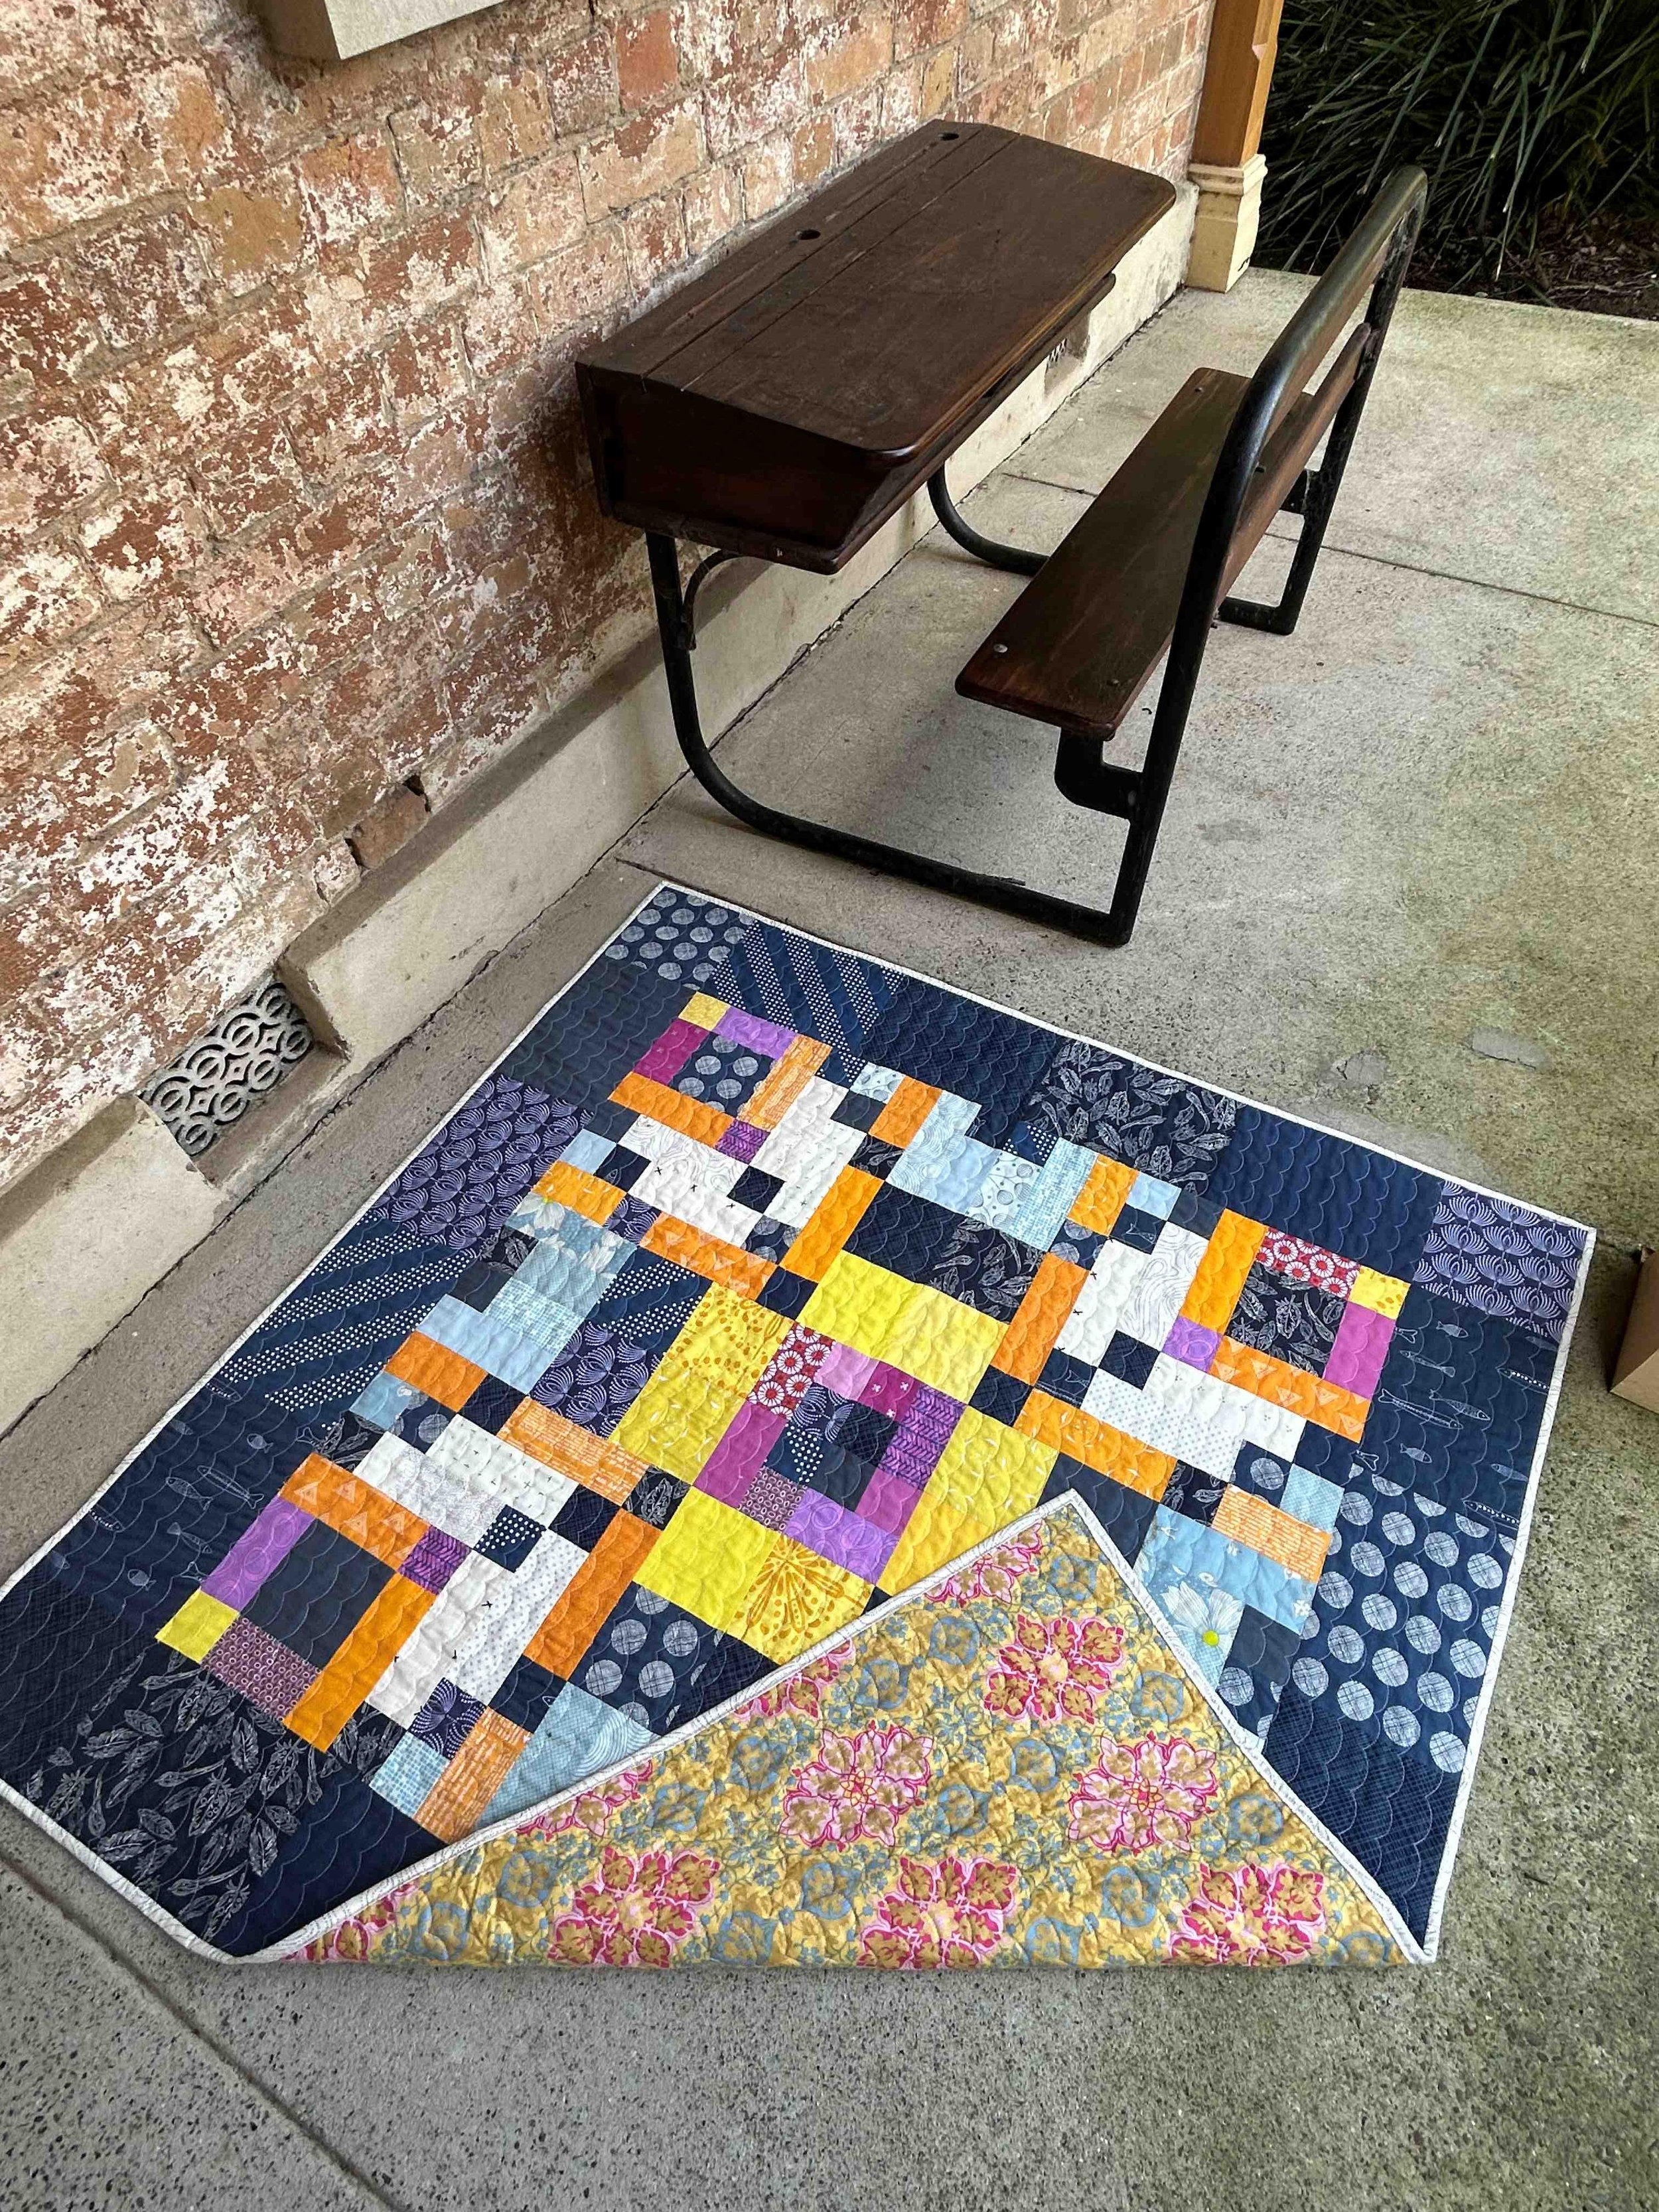
This gorgeous backing ended up in this scrappy baby size Kaleidoscopic Array Quilt (pattern available in our shop). Find out how you can make this quilt, with all the details on our blog. This is a great stash buster pattern, as I used a lot of fabric from my stash, plus some leftover fabric from other projects.
