Kaleidoscopic Array Quilt - Baby size + Scrappy Version
Discover how you can make this baby size quilt using fabric from your stash, or leftover fabric from other projects. Our guide provides inspiration and outlines everything from selecting the quilt layout, colourway, adding the optional border, matching a fabric print in your backing, using decorative stitches for machine quilting and more!
I made this quilt for the gorgeous Miss Elsie who is now 7 months old. You can see Elsie enjoys exploring the patterns in the fabric of the quilt (see video below). I usually work in quite a structured way when designing and testing quilts, so I really enjoyed just diving into my stash of fat quarters and leftover fabrics to make this fun and colourful quilt. Read on to find out more about making this quilt!
TO MAKE this Baby Size Quilt (with optional border):
You will need the precut & scrap friendly version of the Kaleidoscopic Array Quilt Pattern (which also includes instructions for an ombré option). This pattern is for the quilter who enjoys the leisurely pace of quilting and wants to make use of all their fabric precuts or scraps.
Note: You will be cutting each individual block unit, and assembling the block units requires you to sew individual block pieces together. If you are looking for something that comes together quickly, then try the Modern Strip Pieced pattern.
Choose your Layout: This quilt layout is Noughts & Crosses and requires you to make four blocks. You can choose up to five layouts for the baby size quilt. See other quilt layouts.
Colourway: I wanted to make a colourful and fun baby quilt for Elsie, so I used the Allsorts colourway as my guide and then chose fabrics from my stash referencing this colourway. There are also four colourways outlined in the pattern to provide inspiration!
I forgot to take photos of my fabric pull, but you can see from this photo that I used a variety of different print fabrics with a few solid fabrics in there too.
Optional Border: I decided to add the optional border to make a larger baby size quilt. This allows you to make a 48” x 48” square quilt, compared to a 36” x 36” square quilt (without border). Fabric requirements and instructions are included in the pattern for the optional border.
Baby size quilt (36” x 36” / 92cm x 92cm) without border
Baby size quilt (48” x 48” / 122cm x 122cm) with border
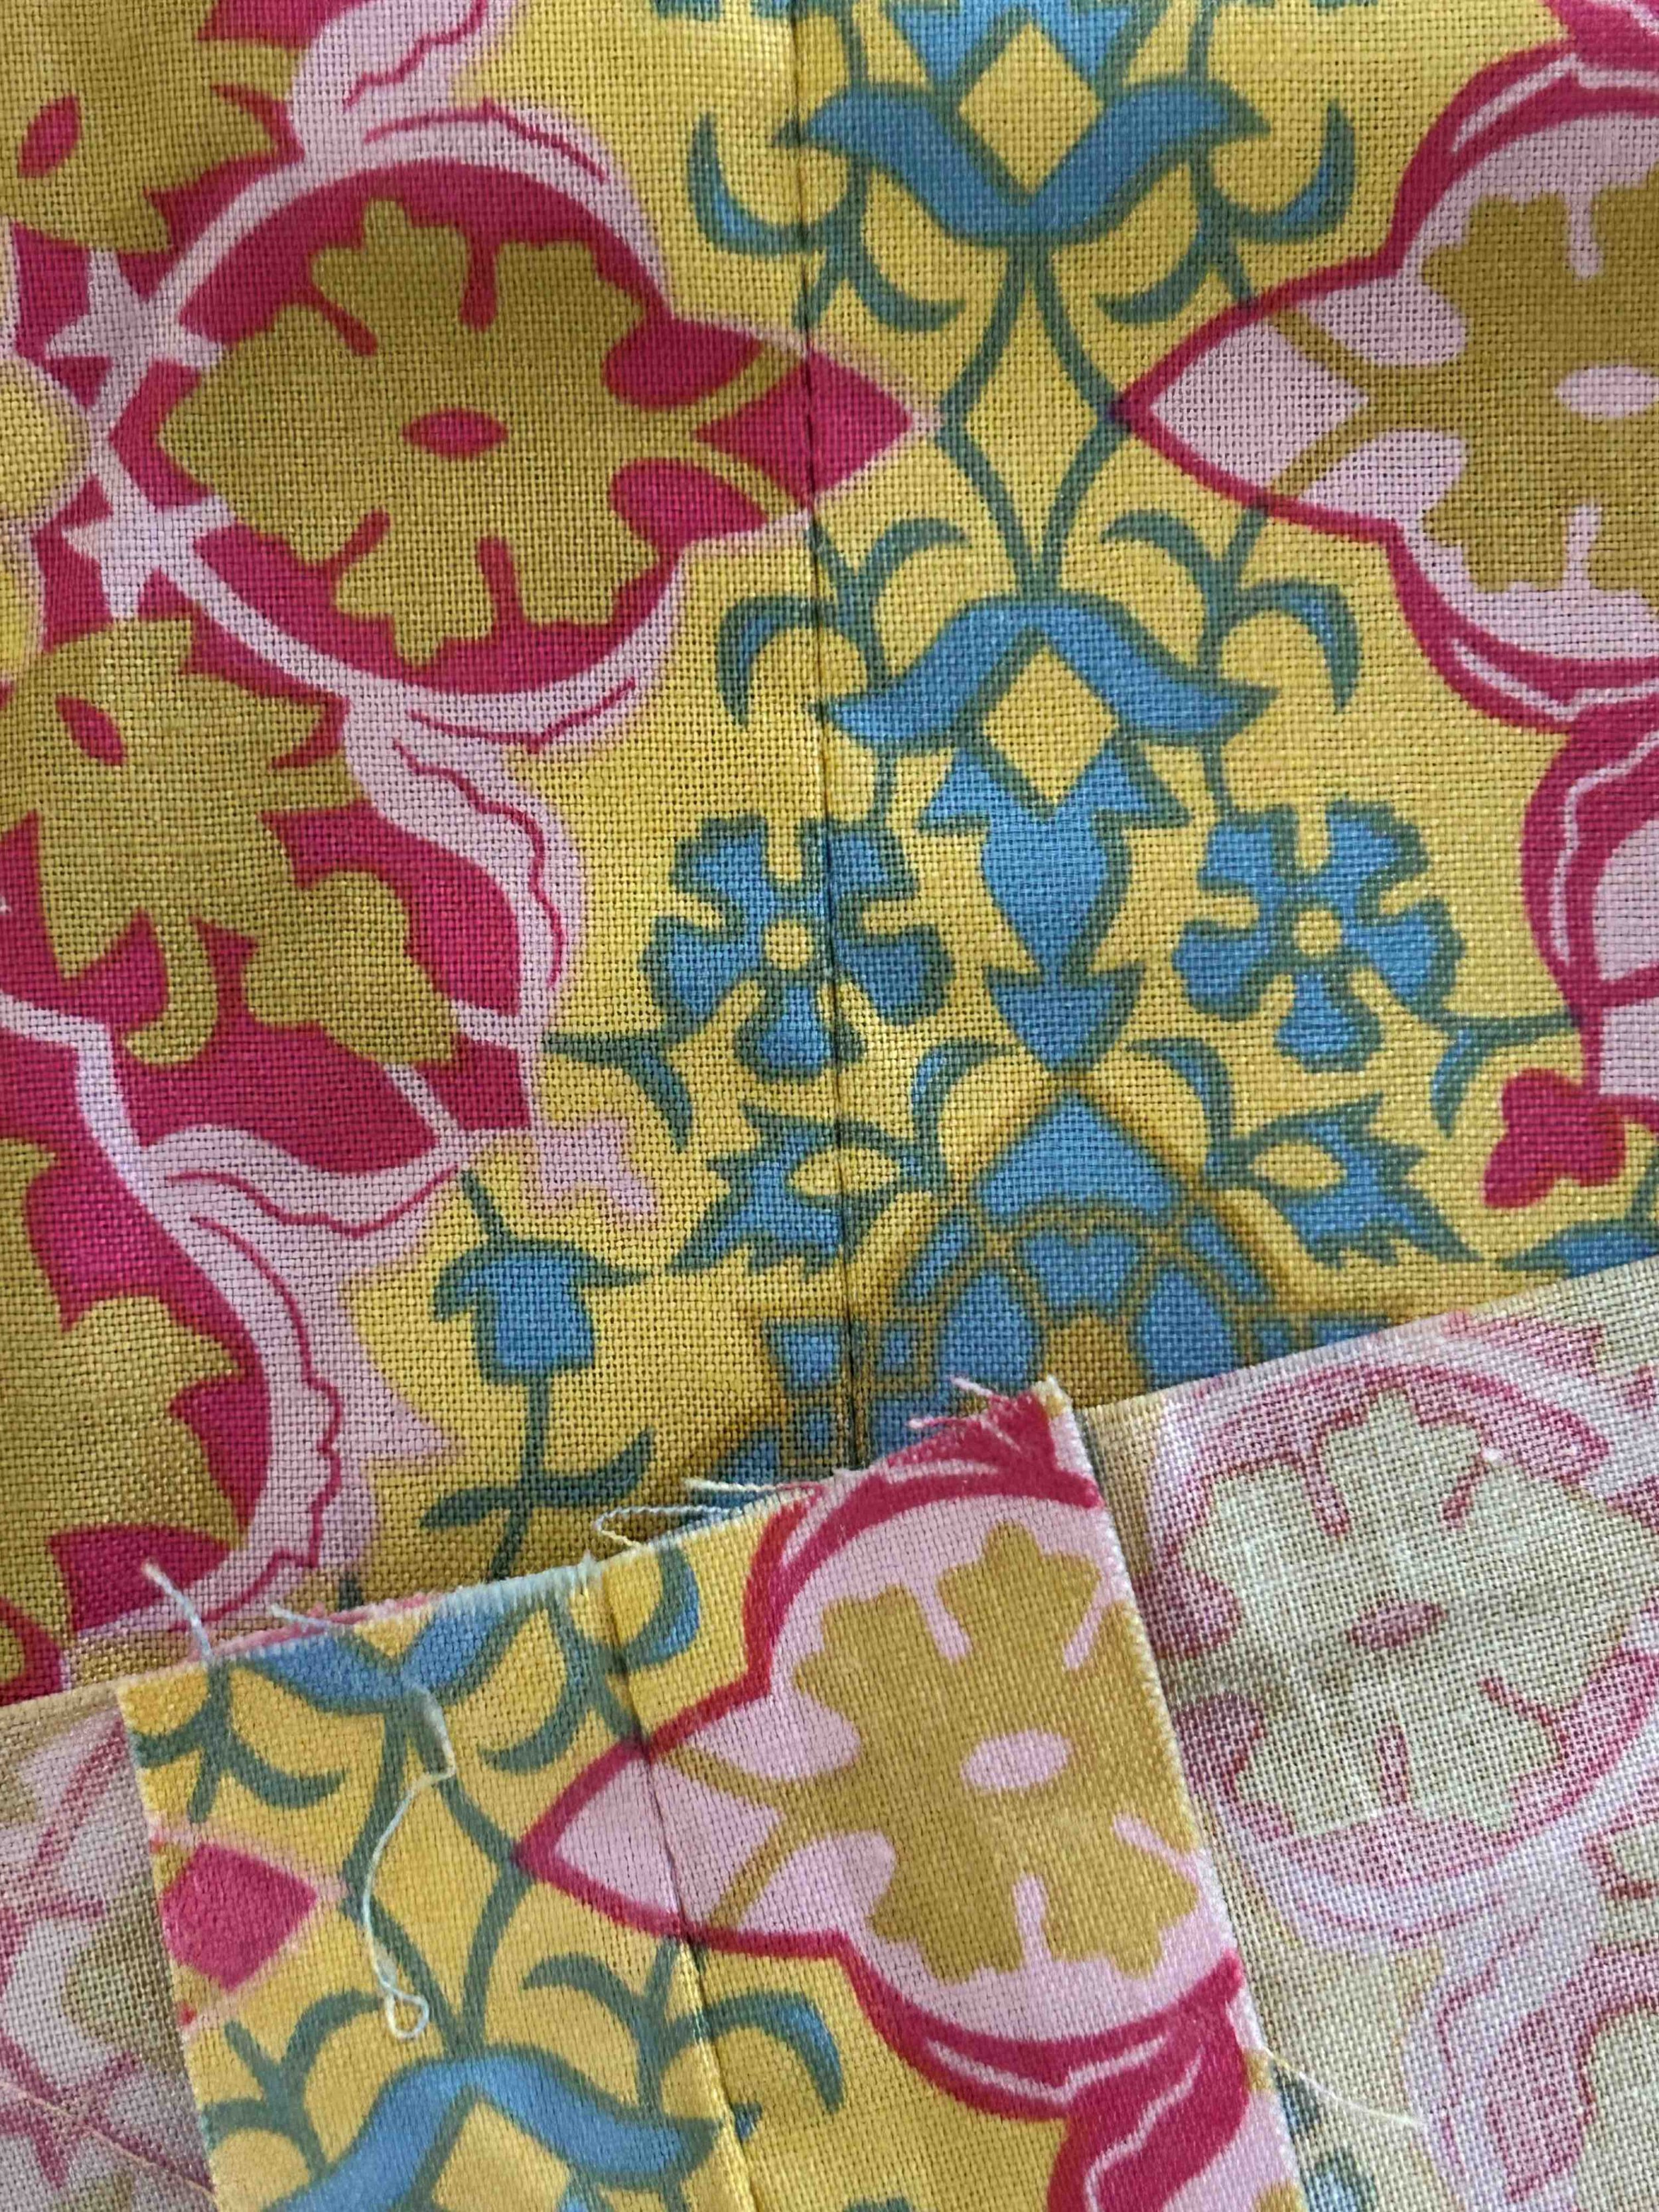
Backing: For this quilt backing I took the extra time to match the big and bold print. I couldn’t be happier with the results! Have you ever matched a print on your quilt backing? Find out How To Match Prints On Your Quilt Backing.
Fabric is Hillary Gold from FreeSpirit ‘Nostalgia’ collection by Jennfer Paganelli.
Batting:
My preference for batting is Matilda’s Own 100% Bamboo. I only changed over to this batting recently and have found it to be a lovely batting to work with. There’s a few reasons I chose this batting:
Bamboo is the most eco-friendly fibre as it grows without the need for supplemental irrigation or insecticides.
A great batting for those with allergies, as has natural anti-bacterial properties.
Is a very soft batting for hand or machine quilting.
YES - it’s machine washable!
I love to support local business and manufacturers, so this one ticks the box as it’s Made in Australia.
Quilting:
I decided to explore some of the decorative stitches on my sewing machine and settled on the scallop stitch which I think is super cute! You can use the scallop stitch a few ways: 1. Waves; 2. Clouds; 3. Clouds Offset (see practice quilt sandwich below). I set the stitch length to 2.5 and stitch width to 9.0 to make a longer and deeper scallop.
When deciding on a decorative stitch for quilting, choose a simple decorative stitch such as a zig zag, serpentine or scallop stitch. Avoid any of the complex stitches that require the sewing machine to go back and forth as these will not work well with the walking foot. Make a practice quilt sandwich to experiment and test stitches before starting on your actual quilt.
Sewing machine quilting using the scallop stitch to create these super cute ‘waves’.
Make a practice quilt sandwich to try out some decorative stitches. I was testing out: 1. Three step zig zag, 2. Serpentine and 3. Scallop stitches.
Binding: With a lot of colour in the quilt, I decided on a low volume white fabric with a simple and fun pattern. All the instructions for creating and attaching a machine sewn binding are outlined in the pattern. If you would like a scrappy binding, see our tutorial Make a Scrappy Binding.
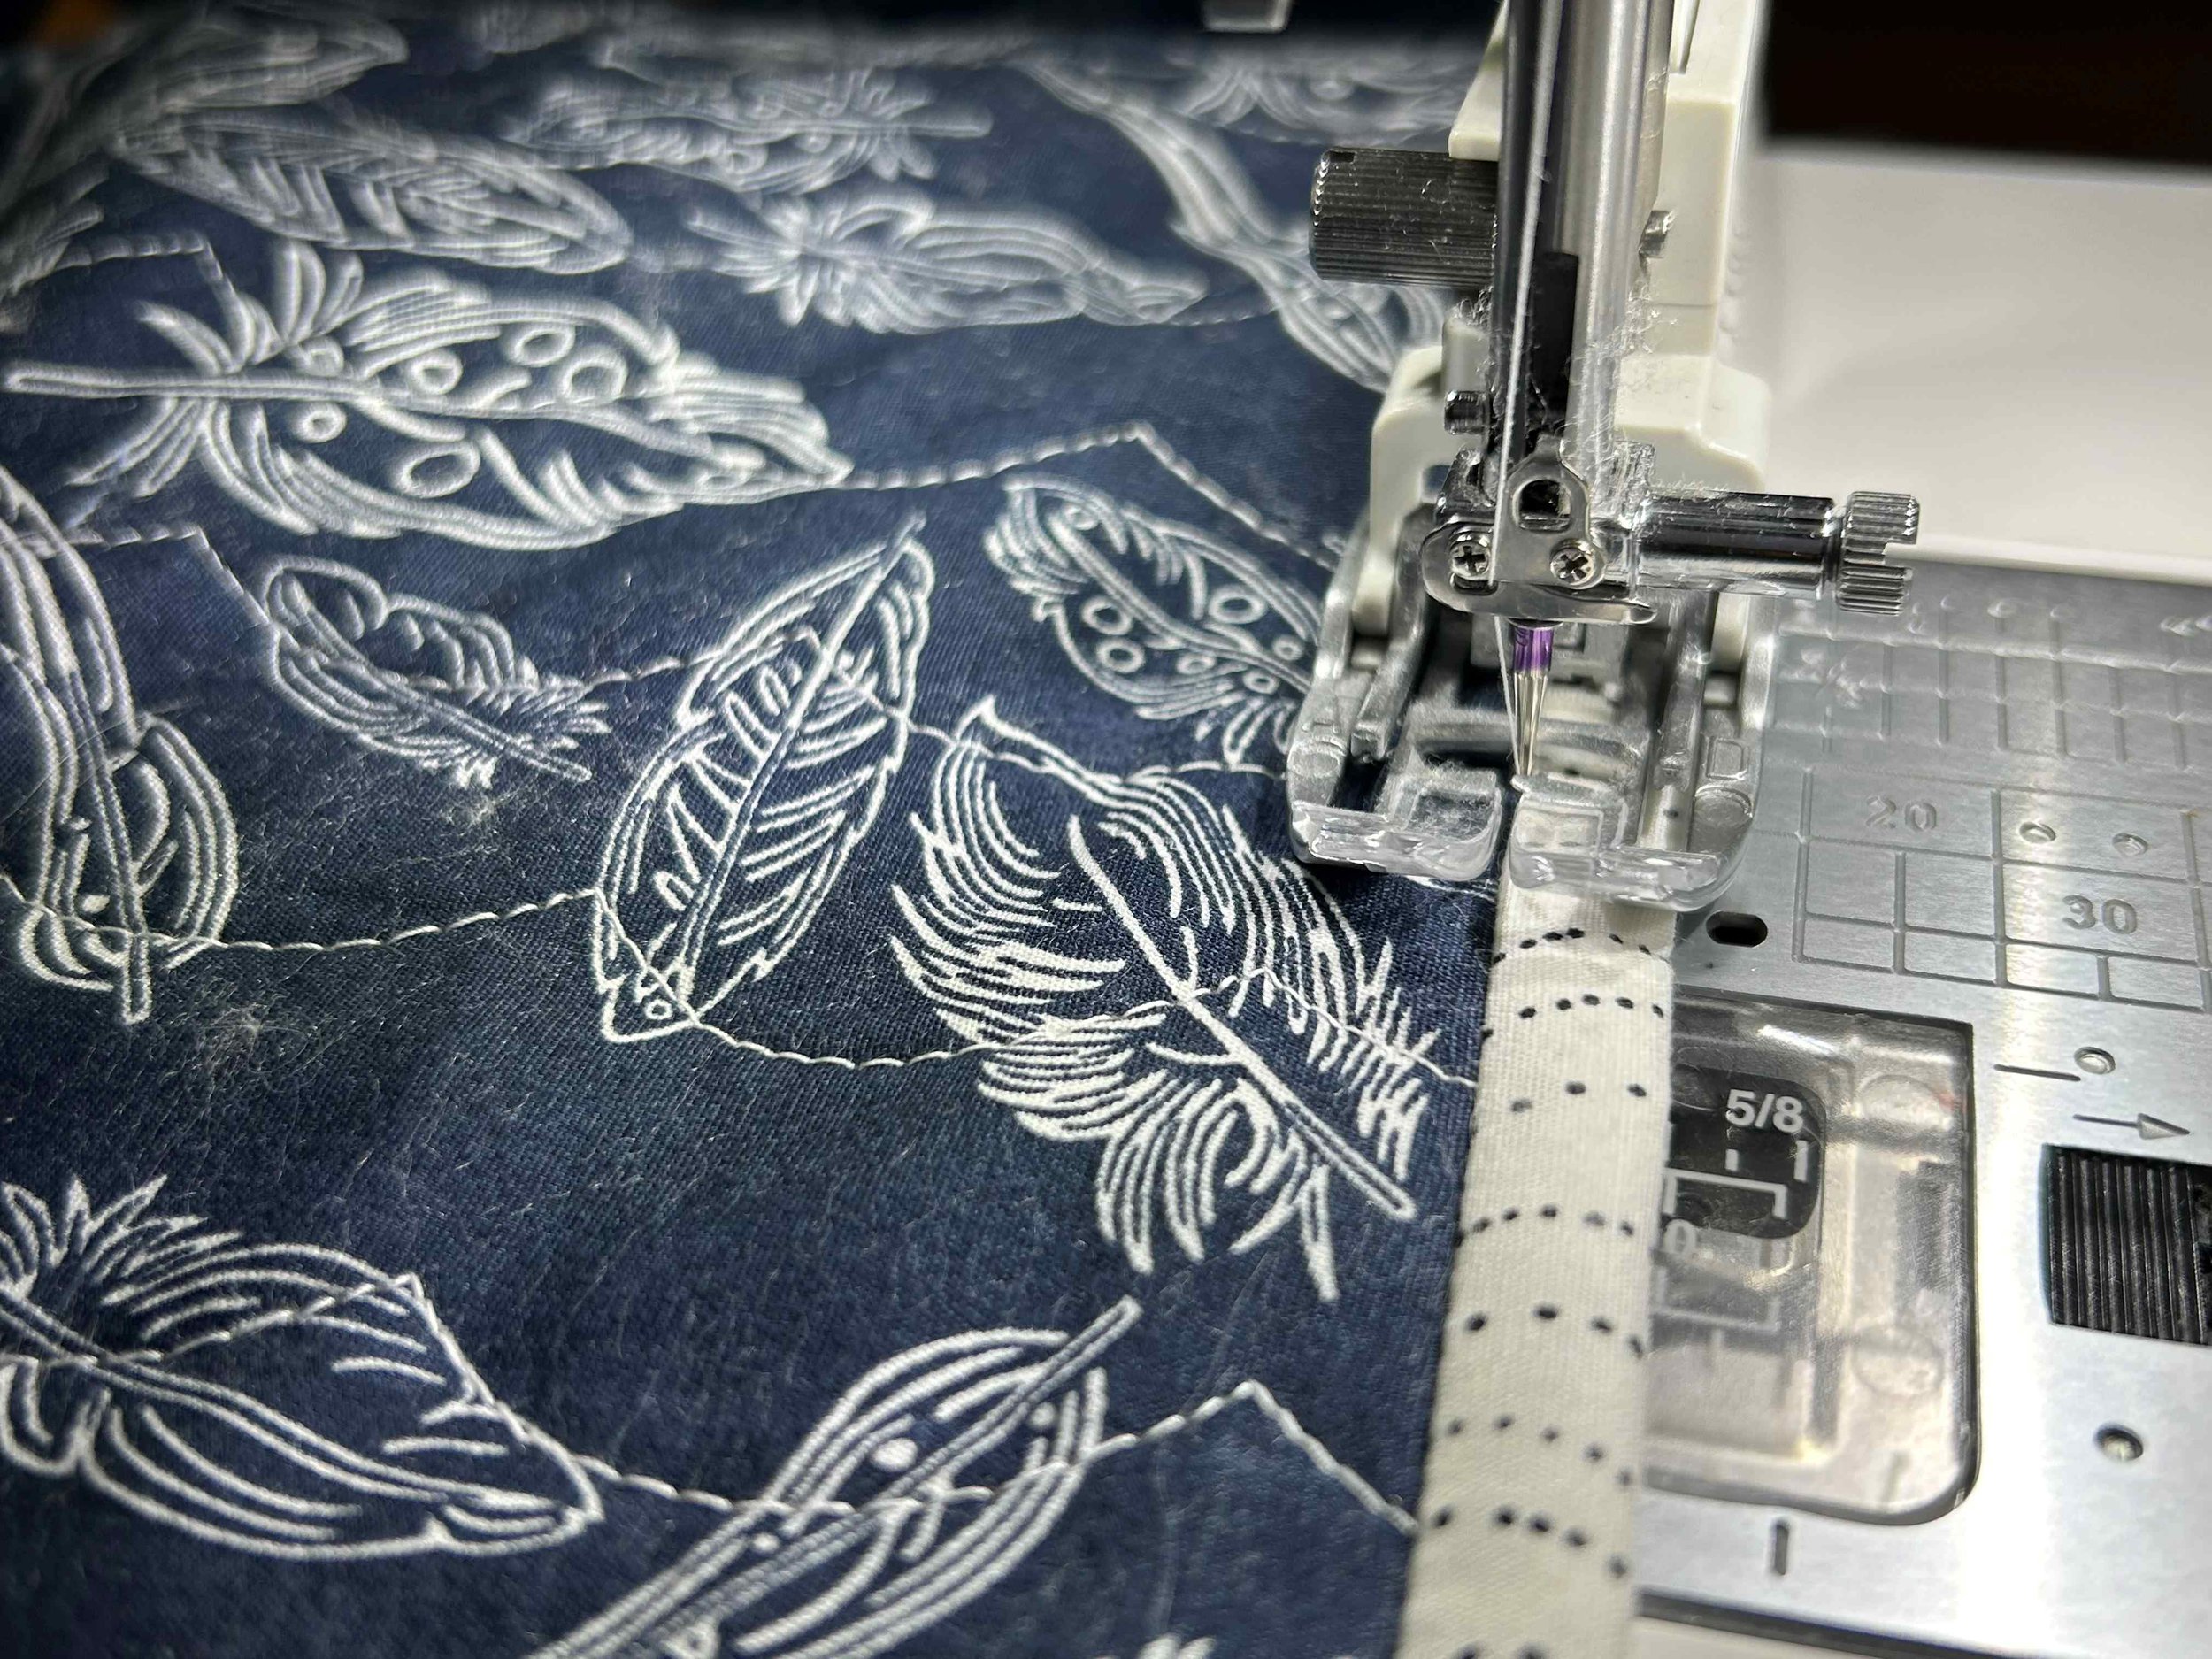
When turning over the binding, I decided to try a method I saw recently. Using a water soluble glue stick, I applied the glue along the binding edge together with quilting clips to secure the binding in place. I discovered this worked better at holding the binding in place. I then continued to sew the binding with my walking foot as usual to complete the binding. I’ll definitely be using the glue stick method again in future quilts!
With my walking foot attached, my preference is to sew the binding to the front side of the quilt. As a good visual cue I put blue tape to mark the 1/4 inch point.
To finish binding, stitch in the ditch on the front side of the quilt.
Related Links:
Colouring Pages to create digital mock-ups or download a colouring page.


