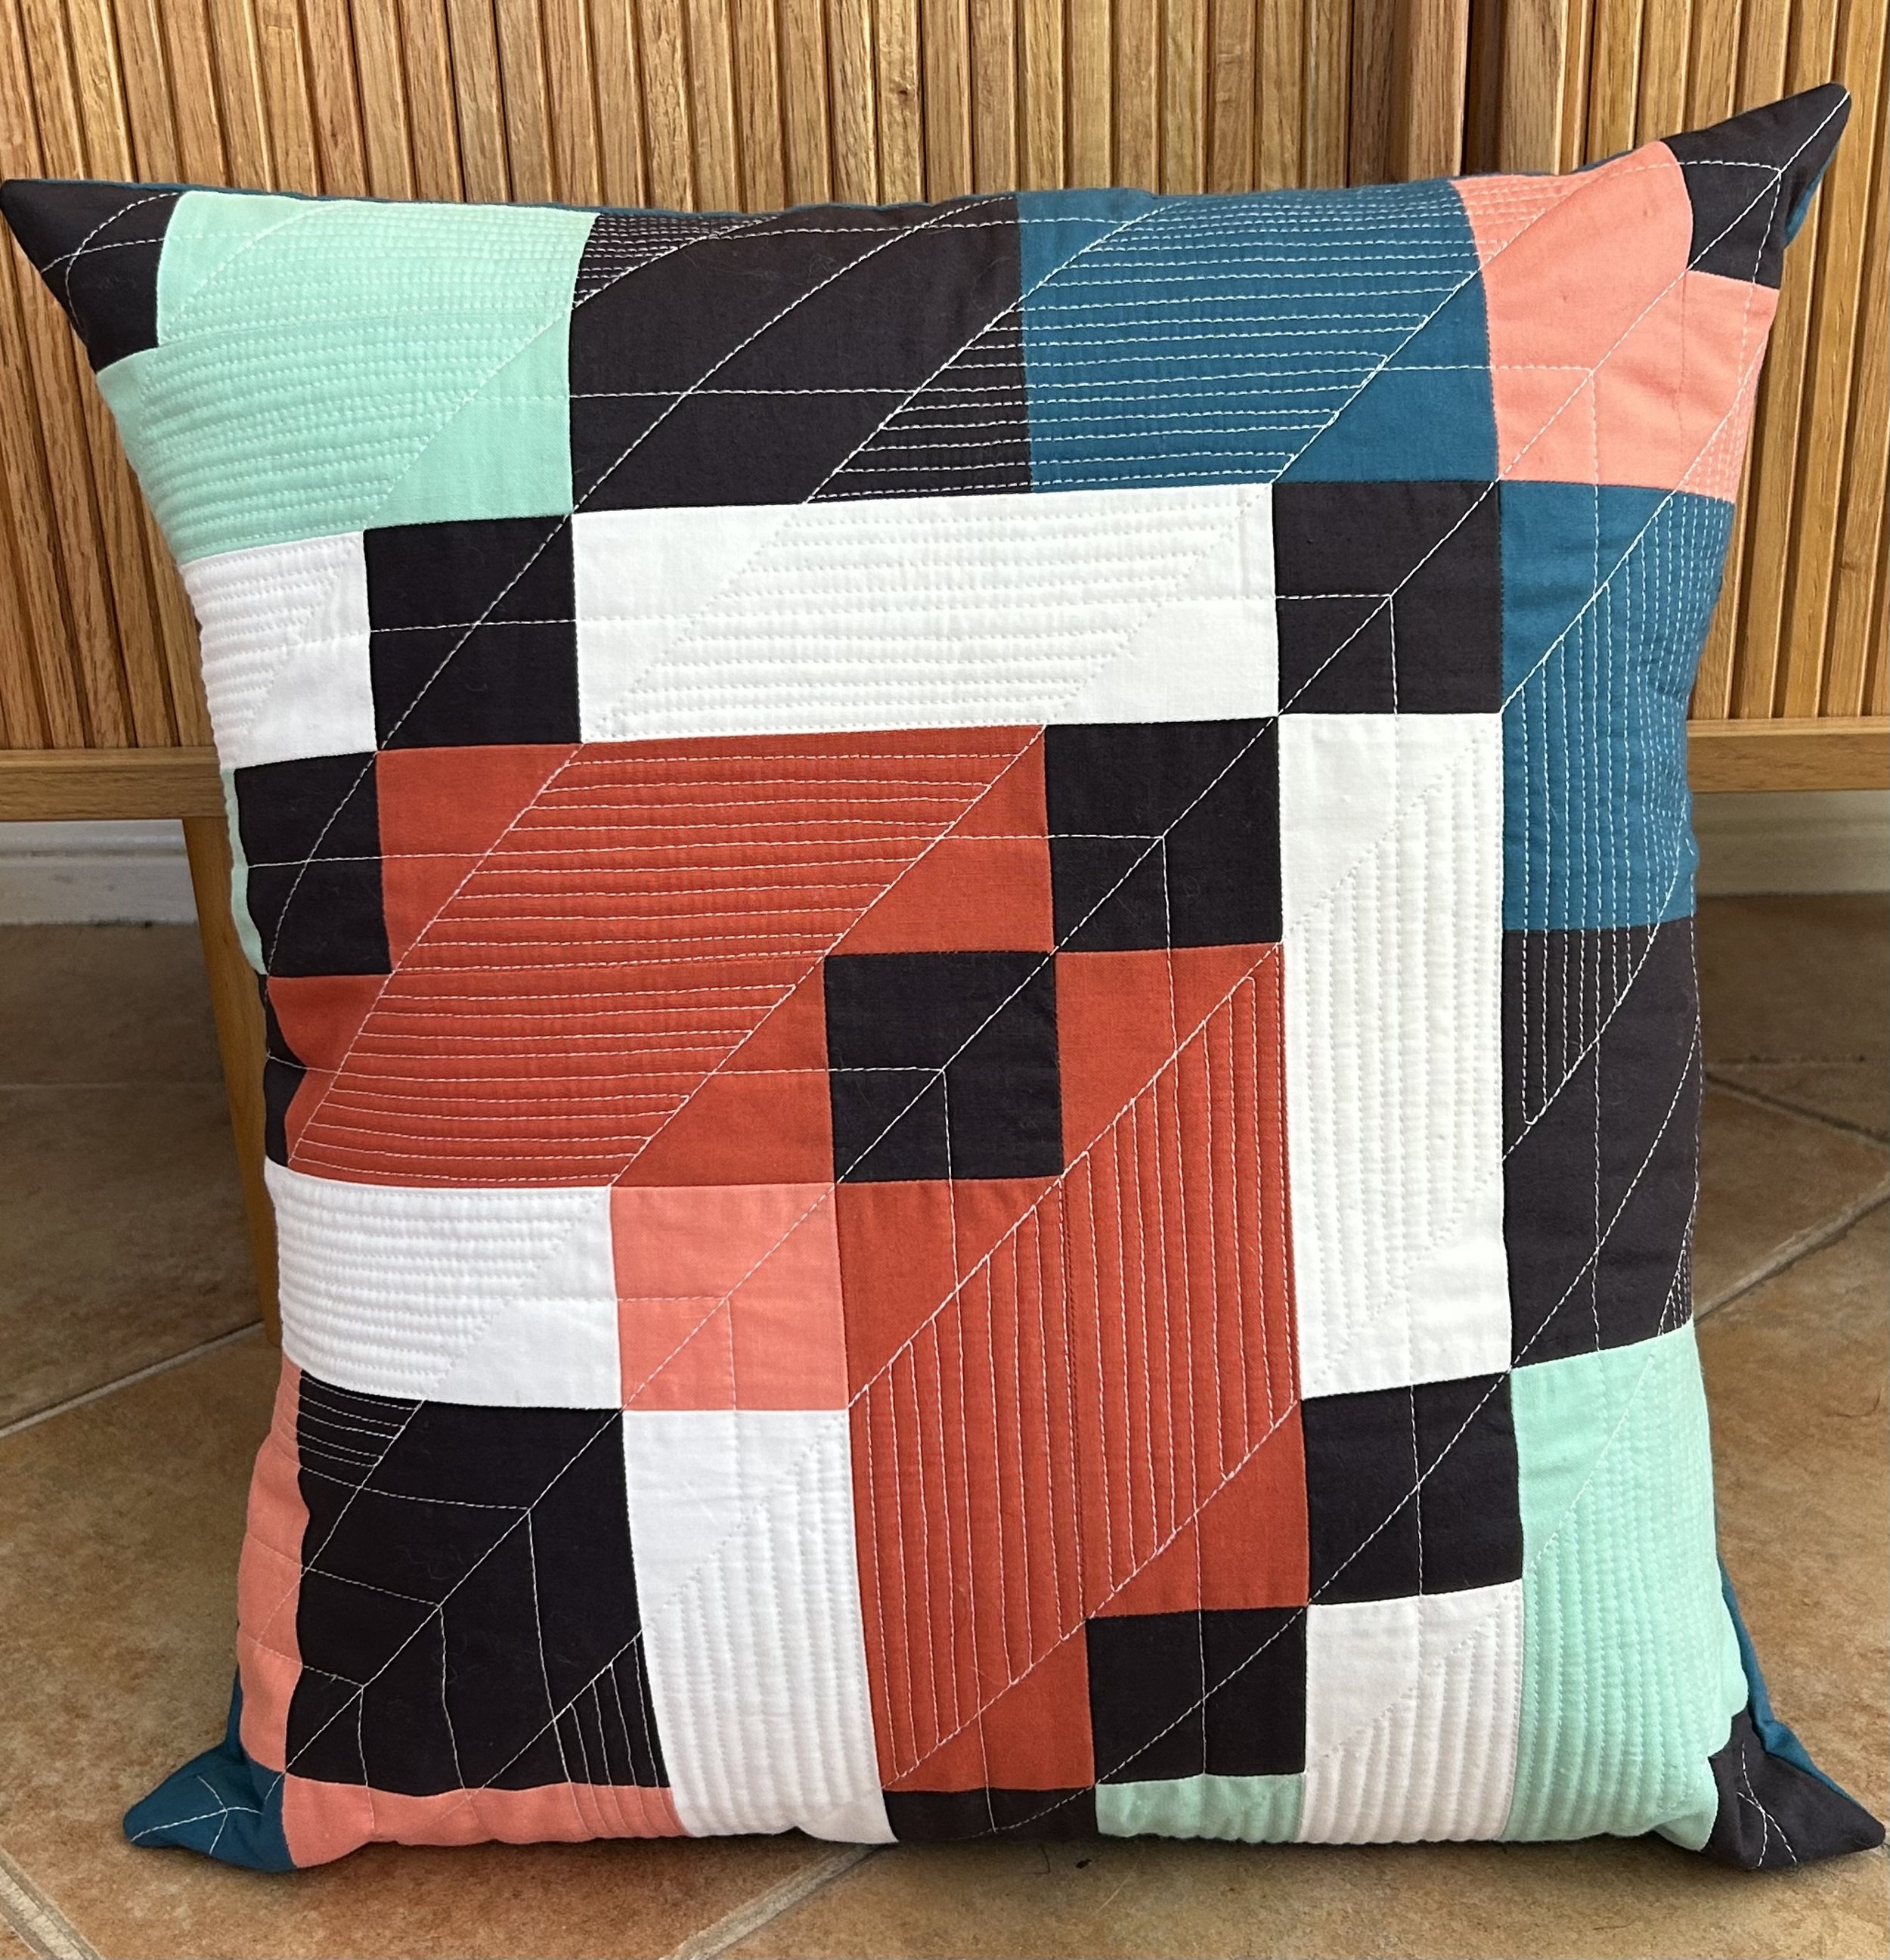
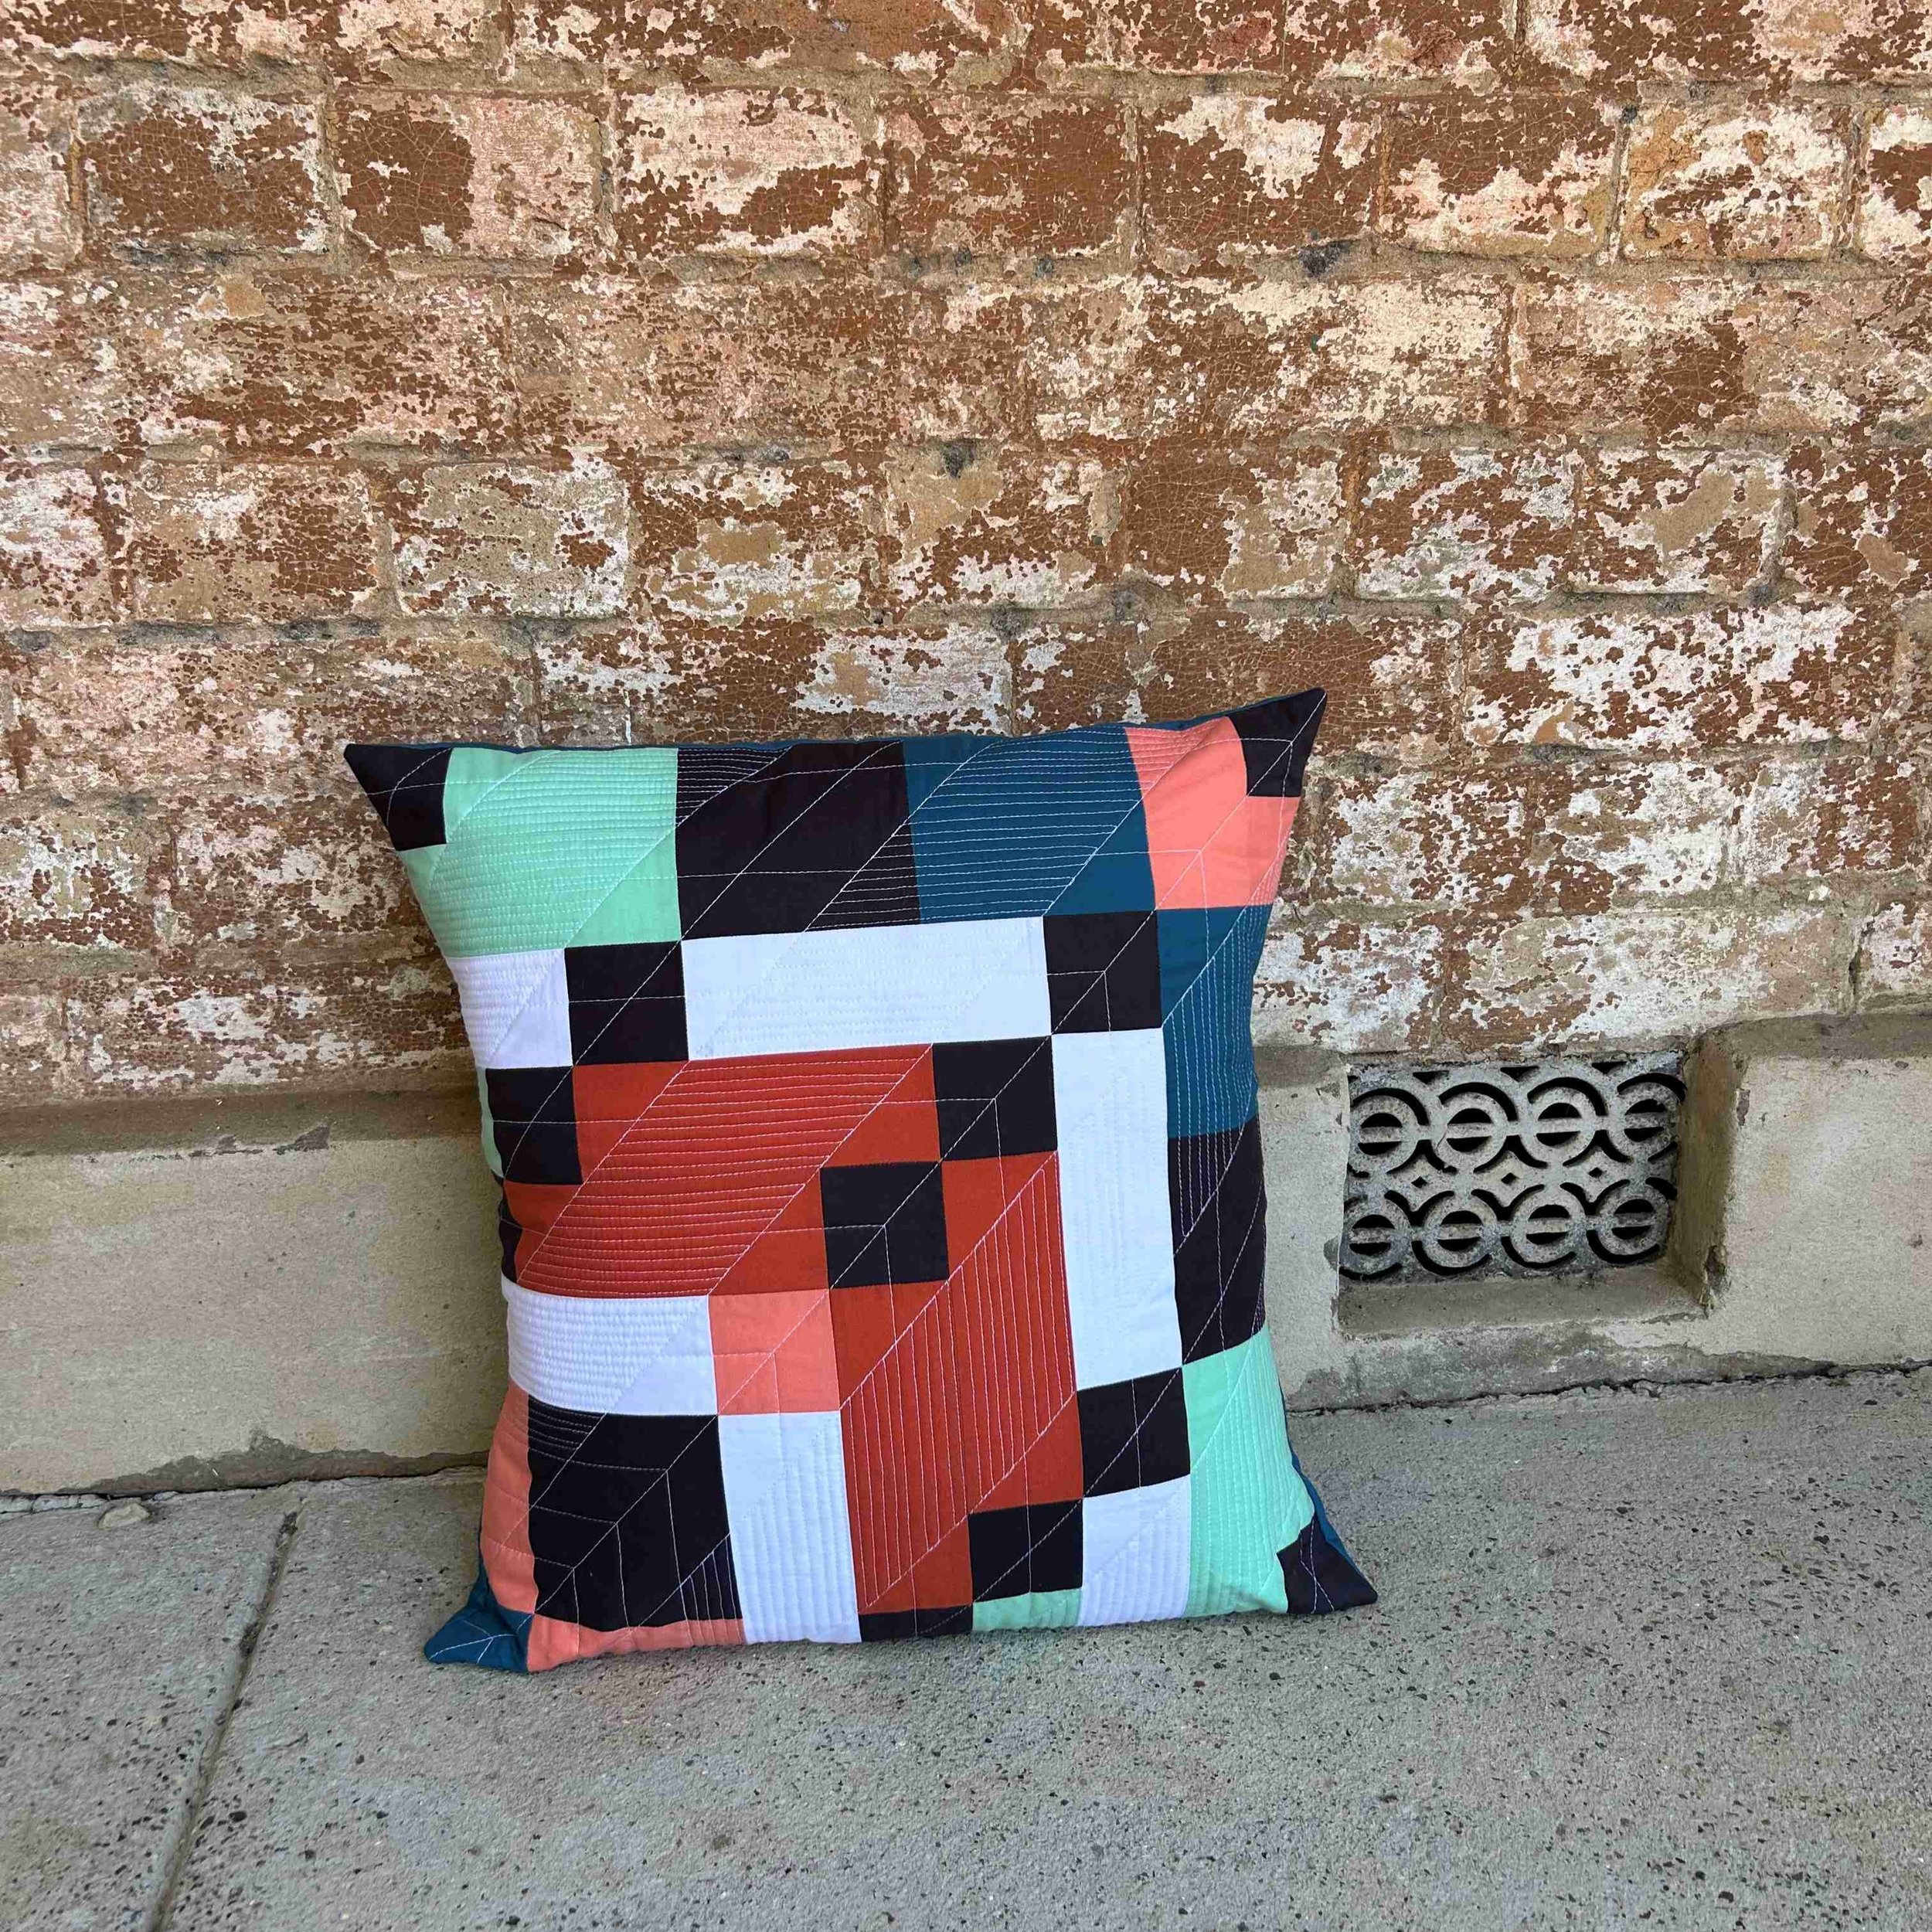
Quilting Kaleidoscopic Array Pillow
Looking for an idea on how to Kaleidoscopic Array pillow?
Use this guide for quilting your pillow or providing inspiration.
I really wasn’t sure how I was going to quilt the Kaleidoscopic Array pillow block, but it soon became evident that this block needed something special to bring the block to life. And I couldn’t be happier with the results!
MACHINE QUILTING BASICS
The quilting was completed on my domestic sewing machine using a walking foot.
Stitch length 2.5mm.
Use painters tape for marking out the lines.
Ensure you have plenty of thread before you start.
STEP 1: Mark out lines using painters tape as shown in RED and quilt in the direction of the arrows.
STEP 2: Mark out the lines in RED using painters tape and quilt in the direction of the arrows, stopping to turn on the centre diagonal line before continuing to quilt.
STEP 3: Match stick quilt the lines in RED following the direction of the arrow.
Sew rows approx. 2-3 stitches apart (between 1/8 inch to 1/4 inch). I didn’t measure and occasionally had to make a decision to have a row a little wider or narrower. But as you are sewing many rows together, any inconsistancies in row width or some wonkiness will blend and your eye will not be drawn to them.
Start by sewing a row then stop, turn and stitch 2-3 stitches along the skeleton rows or diagonal lines. Turn again and start another row. You may need to adjust your stitch length to hit the skeleton row before turning.
Avoid sewing on the stitched seams (ie. don’t stitch in the ditch). As seams have been pressed open you may weaken or cut the stitching.
FINISHED! Enjoy the lovely texture of your quilted pillow.
Share your completed pillow! #kaleidoscopicarraypattern


